Tuesday, March 22, 2011

The Dirt Has Arrived


I ordered 5 cubic yards of 70% compost, 30% topsoil from soildirect.com. The total price was 310 delivery included.
The delivery man was very nice and perhaps the best dump truck driver I have ever seen. That was as far as his truck was able to fit into my backyard which left me about 30 yards to the raised beds.


This is what 5 cubic yards looks like on the ground. The green plastic garden cart was my transportation method for the soil. It holds about 4 cubic feet.

You can see that my tarp was apparently very poorly placed and not big enough by a long shot.


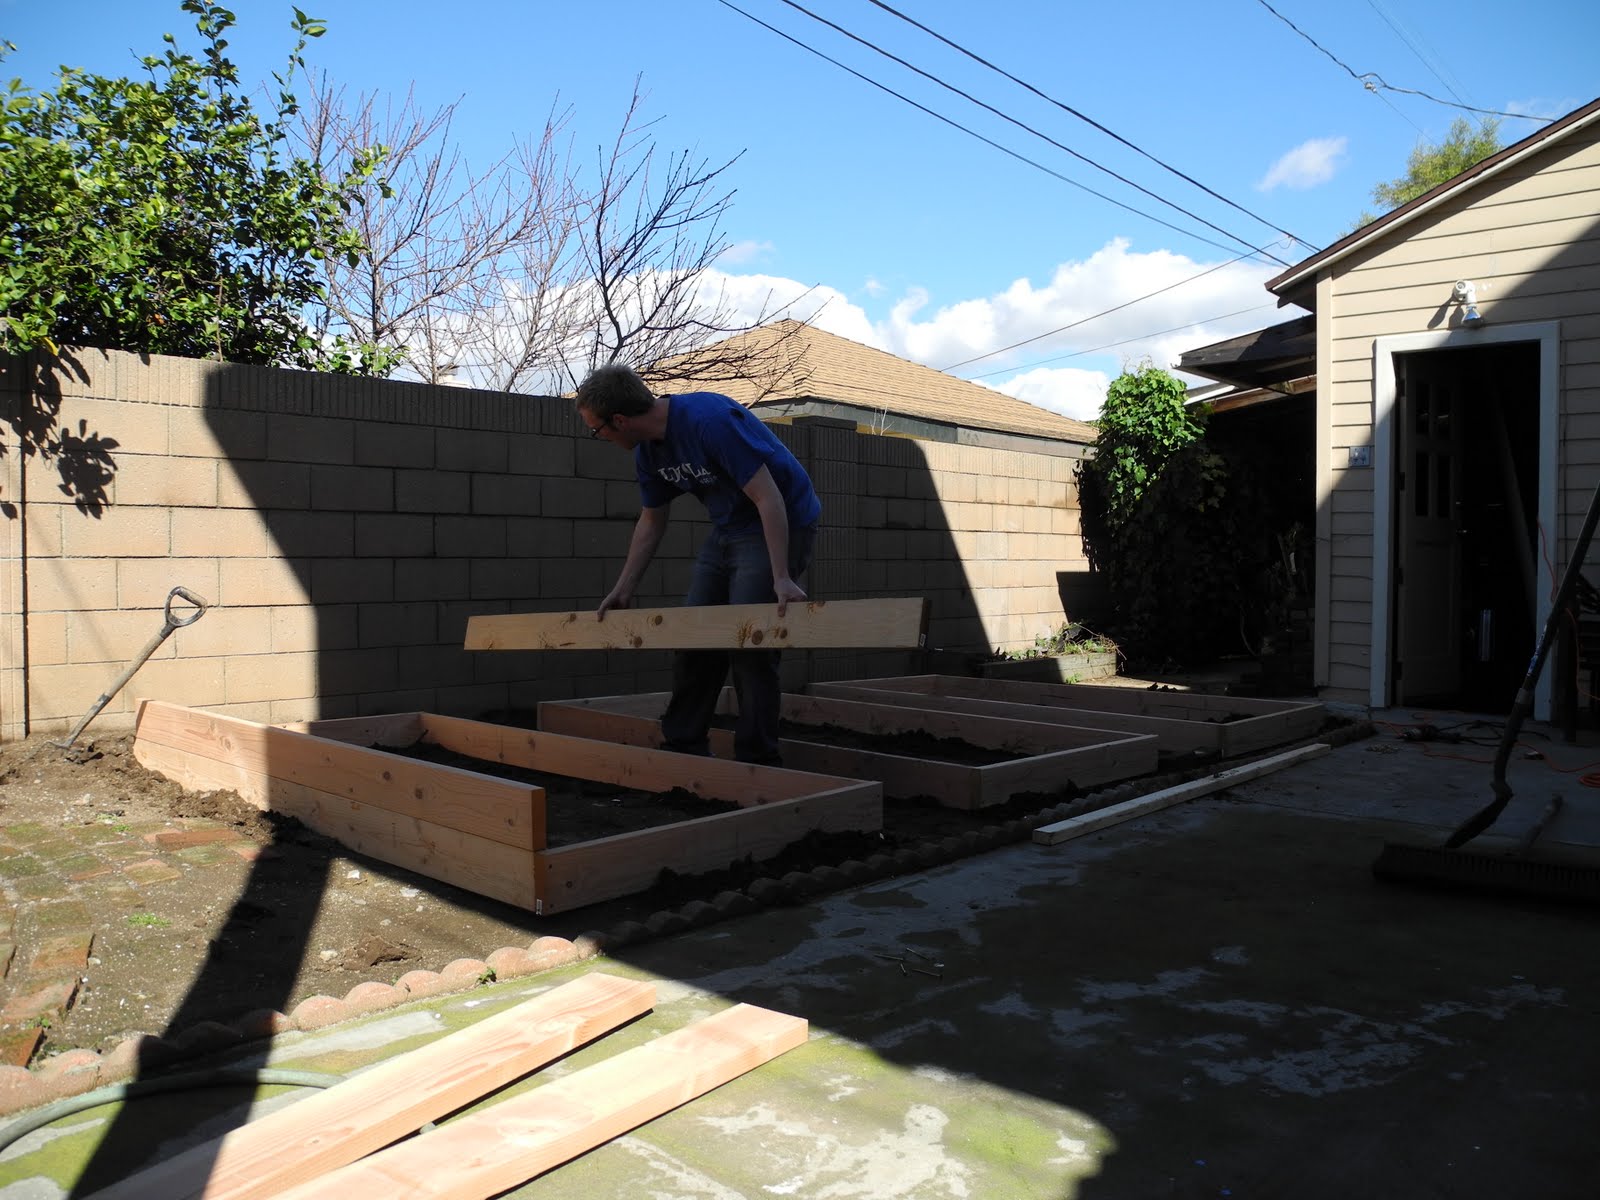
To fill the beds, I started by taking the top layers off of the beds as I still have not attached them to each other. I then filled the cart and dumped and filled the cart and dumped (Repeat for about an hour per bed). As each bed got more and more full, I placed a folding table on the edge of the bed and used the table as a ramp. It worked quite well, but the whole thing formed a sort of see saw and I misjudged the weight equilibrium and was hit in the shin by the table edge on more than one occasion.


Now, My beds are 45inches by 96 inches by 18 inches deep, by my math that is a total of 233,280 cubic inches for all 3 beds. According to google, 5 cubic yards is exactly 233,280 cubic inches. After filling all 3 beds, I think I have enough soil left over for another bed. Either soil direct.com gave me extra soil or my math sucks. In any event, I have a bunch of extra soil in my driveway. I guess I'll have to make another raised bed.

Thursday, March 10, 2011

Worm Composting


Today I started a compost box. I decided to use worms instead of natural decomposition because I want a steady supply of worms and it's faster.

I started with a plastic bin and drilled a few holes in the bottom so that water won't drown the worms. The compost needs to be watered so this was the only way to go.


Next, I made "bedding" for the worms with an LA Times. I tore the whole thing other than the glossy toxic pages into 1 inch strips. It's the first use other than covering floors for painting that I have gotten out of that paper since being talked into subscribing at a Bristol farms in exchange for a 10 dollar gift card 2 years ago.


Next I found the worms which I purchased at Armstrong Garden center and misplaced during my search for a suitable container for composting. They were in the garage.


I put some water on the newspaper and I went kitchen trashcan diving and found a bag of bad arugula and a banana peel. I chopped the peel and dumped both in. Mmmmmmmm.


Finally, I dumped the worms in and put the container behind the garage up on some bricks for drainage.


I can't wait to see how the worms are doing and of course I will keep you posted!

Tuesday, March 8, 2011

New Seeds Sprouted


The seedlings for broccoli, peas, 3 types of tomatoes and onions have started!


Tomatoes in front, broccoli in back.


Onions in the front, you can't really see them yet! Peas in the middle, and tomatoes in the back.

Planting New Seeds


I planted seeds for Jalapenos, Broccoli, Peas and Onions.
Everything was planted in trays. I filled the trays about 2/3rds full of soil and then put the seeds in with some water, then covered with more soil and more water.

Putting seeds in the individual cells in the trays was a bit difficult. At times it felt like I really needed tweezers.

Saturday, February 26, 2011

A Nursurey for Sprouting Seeds and Growing Seedlings


In an effort to grow plants more economically than last year when every vegetable I grew started in some advanced state, I have decided to grow everything from seed. I planted 3 different kinds of tomato seeds on the 19th and they began to sprout yesterday. It is cold and rainy outside, so I decided to continue growing them inside under some Fluorescent bulbs.

I build a rig to hold the florescent bulbs at a constant 3-4 inches above the plants with some chain from home depot, some wood I had left over from building the raised beds and fluorescent lights that were leftover from a remodel. As the plants get bigger, I can shorten the chain length.

I am going to plant carrots, broccoli and peas tonight.

I am planing on taking a time lapse or two of the tomato sprouts, I will post pictures if it turns out.

Monday, February 21, 2011

The Beds get Built


I have decided to start a vegetable garden in the backyard this year in raised beds. Yesterday I built 3 boxes of wood to fill with dirt and then plants. I setup my Nikon P7000 to take a picture every 30 seconds while I built.

The Build:
With the help of a friend's massive truck, I picked up 27 8ft Pine 2x6's and a 5lb box of 3 inch screws. I cut 9 of the 2x6's in half leaving me with 18 8 footers and 18 4 footers. I built my first box by screwing the 2 of each together and put it where I wanted my first bed. I then built 2 more on top of that one to use as templates for the other beds. Then I had to level the dirt so the beds would sit flat. The best way i found to do this was to set the box down in the dirt with a bubble level and using a shovel dig out dirt from underneath any high points. It was much easier than trying to eyeball it or level the whole area. After everything was level I built two more boxes on top of each of the 3 others.


The final exterior dimensions wound up being 99 inches long by 48 inches wide by 16.5 inches tall. The internal dimensions are 96 inches by 45 inches by 16.5 inches leaving a total of around 71,280 cubic inches or 41.25 cubic feet or 1.5 cubic yards.

By the way, 5lbs of screw was way too many, at least I have enough to build that deck I wasn't thinking of building.


Next Steps:
1. Buy Compost/dirt mix from Armstrong Garden Center.
2. Continue to start seeds inside.
3. Make brick paths between beds